The Documentation team uses Jira, Github, Git Bash and Flare when updating online help content. This section describes that process, which is driven by the Documentation Status field in Jira.
Edit me
Peer Reviews Content in Flare
- In Windows-Explorer, right-click on your dsp-docs local file and select Git Bash Here.
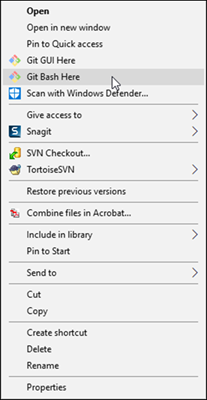
Right-click menu with Git Bash Here option - Switch to the release branch you are working in now, for example, develop_67.
Note: The git command for switching branches is
git checkout <branch name> - Synchronize your release branch by entering the git command
git pull origin <release branch name>Note: If at this point you wish to see a list of branches that are available in your local repo, enter the commandgit branch. All of the available local branches are listed. - As a reviewer, you are notified by email when you are assigned a PR and you can click a link to view the pull request in GitHub. Otherwise, the writer may include a link when they message you in Slack.
- To pull the new branch to your local repo so you can view the changes in Flare, in Git Bash navigate to your local dsp-docs repo and enter the git command
git fetch origin <new branch name>Ex.git fetch origin DSP-2345Tip: The new branch name is in the PR.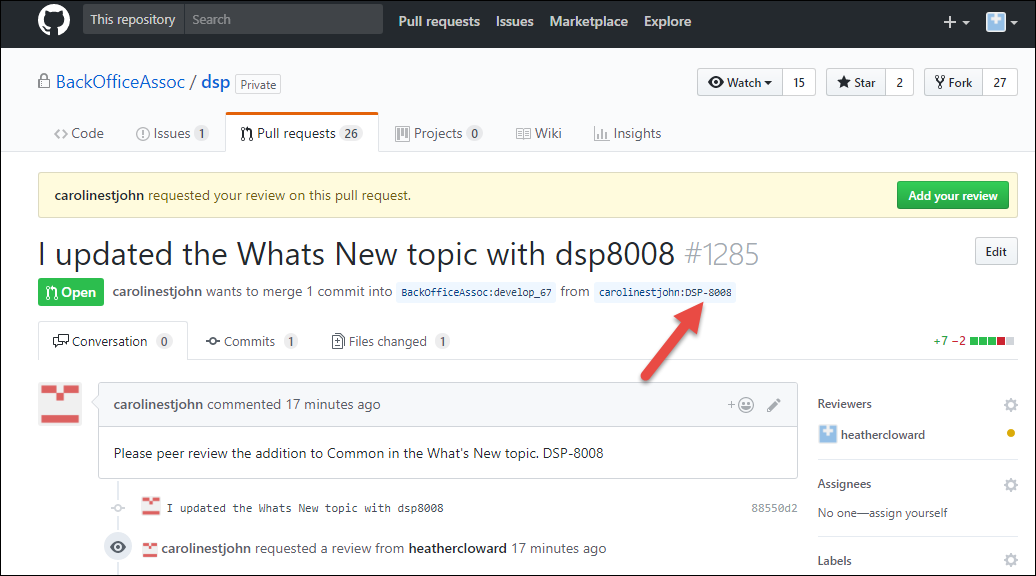
Where to find PR branch name in GitHub - Switch to the new branch locally by entering the git command
git checkout <new branch name>Tip: The name in the parenthesis after the command prompt updates to the new branch name, indicating you can now open the files in Flare and see the changes.Important: If at this point you receive a message like,error: Your local changes to the following files would be overwritten by checkout: <list of files>.This means you have made changes to the files on this branch since last checkout. If you do not want to save them, before you can checkout a new branch, you need to reset your directory with the following command:git reset --hard. All changes noted above will be lost, so be sure before you enter the command that you do not want to keep the updates. - Once the appropriate branch has been checked out, open the BackOffice Associates Solutions.flprj project file from your local dsp-docs repo.
Tip: Check for broken links and bookmarks as well. On the Analysis tab, select Broken Links from the Project Analysis drop-down. Then select the Broken Bookmarks option from the drop-down. It is good practice to check for broken links after Help is fetched and after any changes are made before the commit to GitHub.
- Review the content for clarity.
- Test the steps.
- Check the content for the standard styles and content organization, if applicable.
- Check grammar and spelling.
- Test links.
- View the Build log to check for build warnings and errors. Refer to the [Build Help Targets][BOADocProcess_BuildHelpTargets] section for moreinformation.
- If a new page has been added to the product, confirm that a Map ID was added to the alias file. See [Add Context-sensitive Help Links][BOADocProcess_UpdateOnlineHelp.html#addcslinks] for more information.
Tip: The Peer Review can either pass or fail.
Peer Review Passes: Peer Reviewer has made no updates to content during review.
Merge the updates and delete the branch in GitHub
- If everything looks good, close Flare.
- Make sure the branch you are merging into is the correct release branch. If it is not, click the Edit button and select the correct release branch.
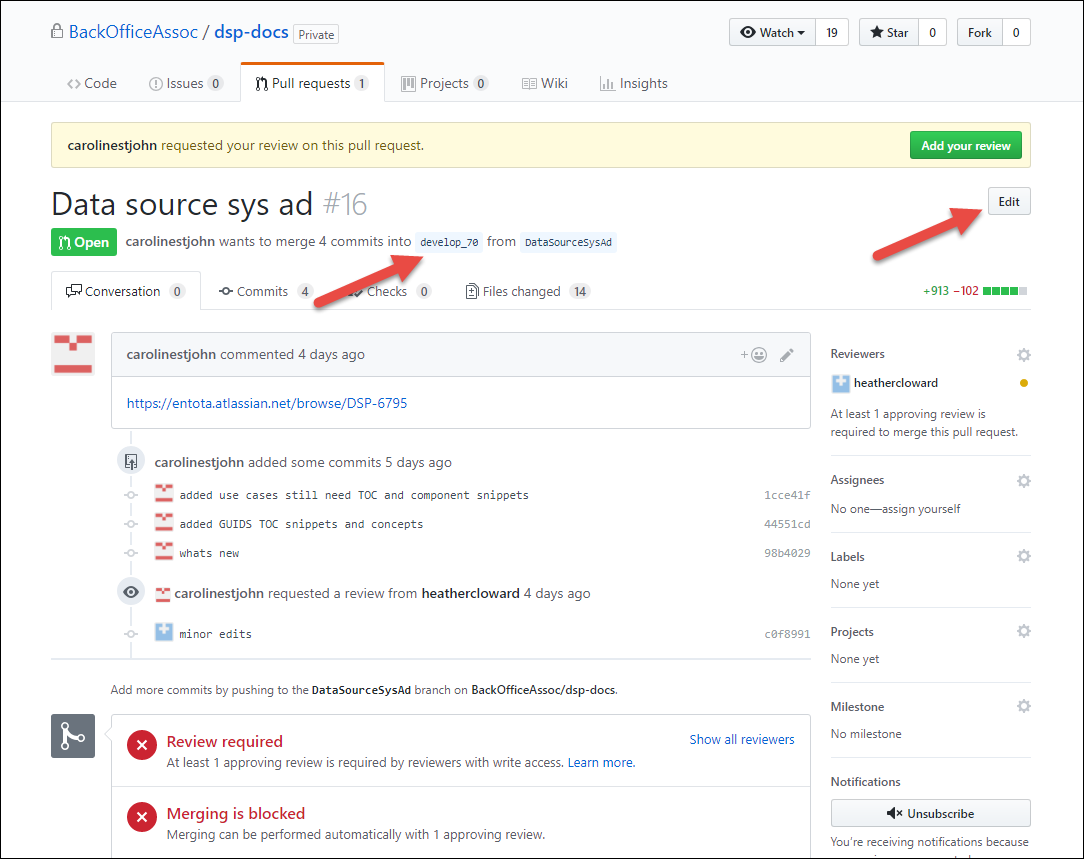
How to edit branch in GitHub - Click the Add your review button, select Approve, then click Submit review.
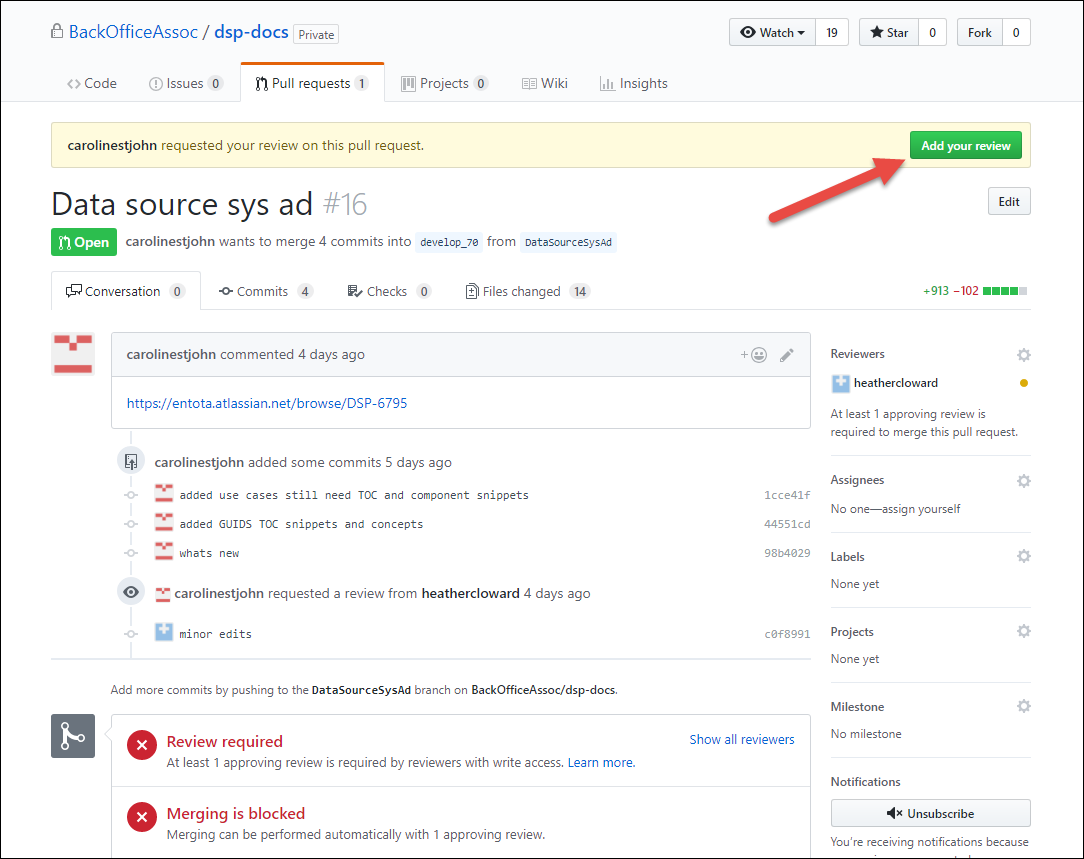
Add your review in GitHub - Click the Merge pull request button.
Important: If this button is not active, resolve the conflicts by following the steps in Resolving metadata merge conflicts in GitHub.
- Click the Confirm merge button.
- Click the Delete branch button to remove the branch from GitHub.
Delete the branch in your local repo
- Open Git Bash and navigate to your dsp repo.
- Switch out of the branch you want to delete by entering the git command
git checkout <release branch name>Warning: Make sure you have merged the changes before you enter the following command or your changes will be lost. - Delete the branch by entering the git command
git branch -D <new branch name>
Tip: Next, refer to Review: PM Reviews and Approves Documentation.
Peer Review Fails: Edits are necessary in review
- Make updates in Flare on the writer’s branch that you pulled from GitHub.
- Stage the updates for commit by entering the git command
git add .Note: Include the period in the command. - Commit the updates to your local repo by entering the git command
git commit -m '<put a message that describes your updates>'.Tip: Do not include special characters in commit message. - Push the updates to the dsp-docs remote repo by entering the git command
git push origin <branch name> - Go to the PR in GitHub to ensure that your commit was added to the PR.
- Make sure the branch you are merging into is the correct release branch. If it is not, click the Edit button and select the correct release branch.
How to edit branch in GitHub - Click the Add your review button, select Approve, then click Submit review.
- Click the Merge pull request button.
Important: If this button is not active, resolve the conflicts by following the steps in Resolving metadata merge conflicts in GitHub.
- Click the Confirm merge button.
- Click the Delete branch button to remove the branch from GitHub.com.
Tip: Next, refer to Review: PM Reviews and Approves Documentation.
Resolving metadata merge conflicts in GitHub
Sometimes Flare adds metadata/XML markup updates to topics in the XML Editor that are not displayed in the Text Editor. These “behind the scenes” code updates can cause merge conflicts if another team member has altered the same topic. This situation is likely to occur when updating the What’s New topic because it is updated with a release note for each JIRA ticket that is written during a release.
- When you go to the PR page a note from GitHub that tells you when there are merge conflicts.
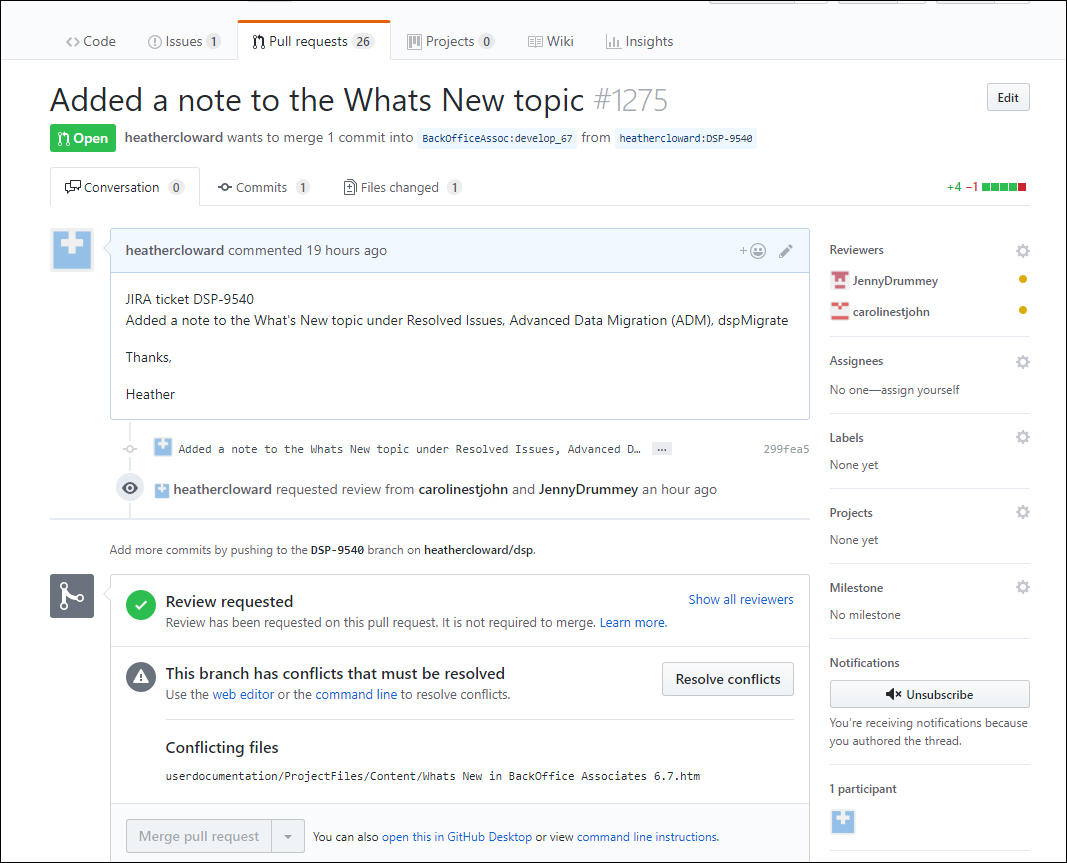
Merge conflicts message in GitHub - After peer reviewing the updates in Flare, click the Resolve conflicts button.
- Delete from the equal signs
========down to the>>>>>including the feature branch name.Warning: Be careful to leave one of the XML tags to avoid XML errors in Flare.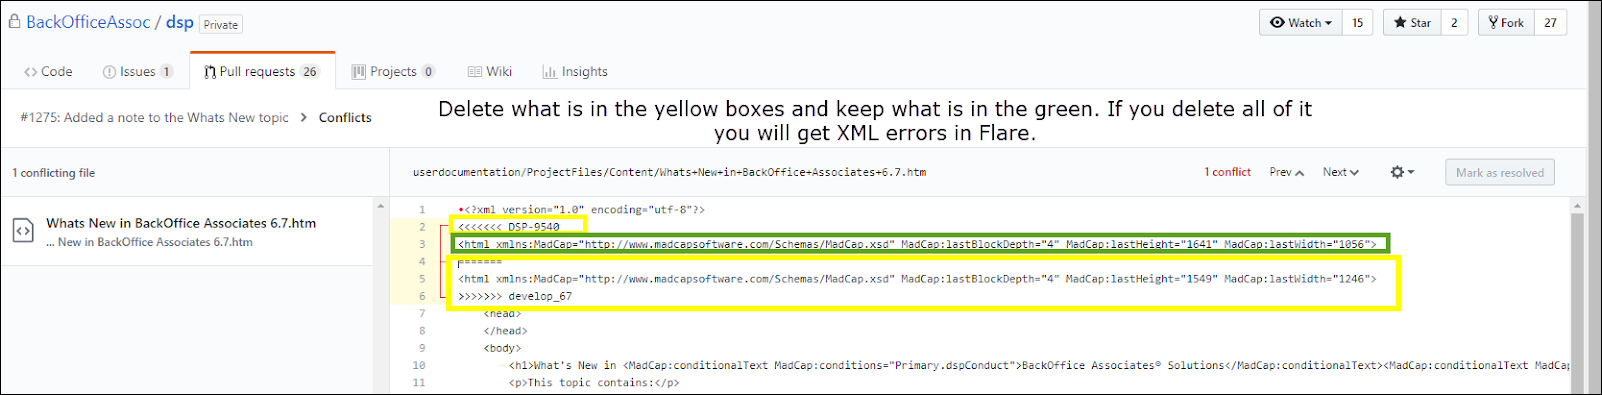
What to delete when solving merge conflicts in GitHub - Delete the
<<<<<<and your new branch name. - Click the Mark as resolved button when it displays. Then a green checkmark is displayed to indicate the conflict is resolved.
- Click the green Commit merge button to merge the updates.
Keep your repo clean of merged branches
After you receive notification that your branch has been merged into the main feature branch, it is best to delete your branch from your local repo. Otherwise you end up with a lot of unused branches in your repos.
Warning: Once a branch is deleted it is gone, so make sure all updates have been merged before you perform the delete.
To delete branches on your local repo, open Git Bash and enter the git
command git branch -D <name of branch>
Important: This won’t work if you are on the branch you are attempting to delete. Checkout a different branch, then complete the command.